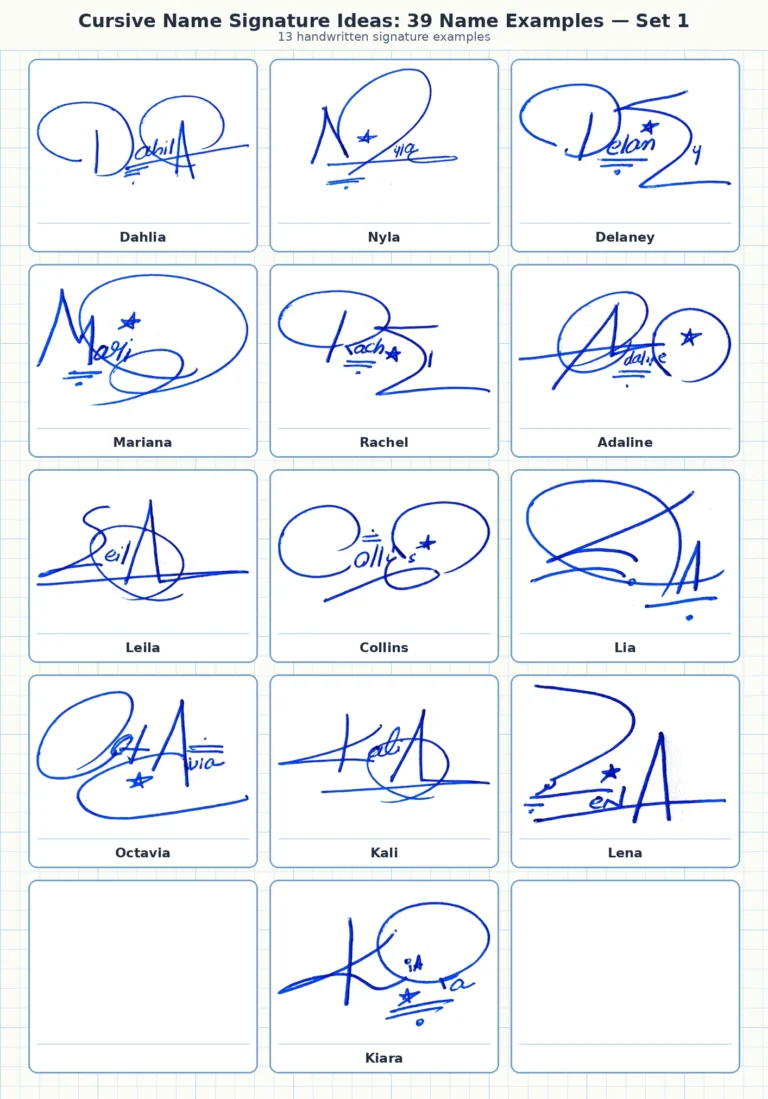
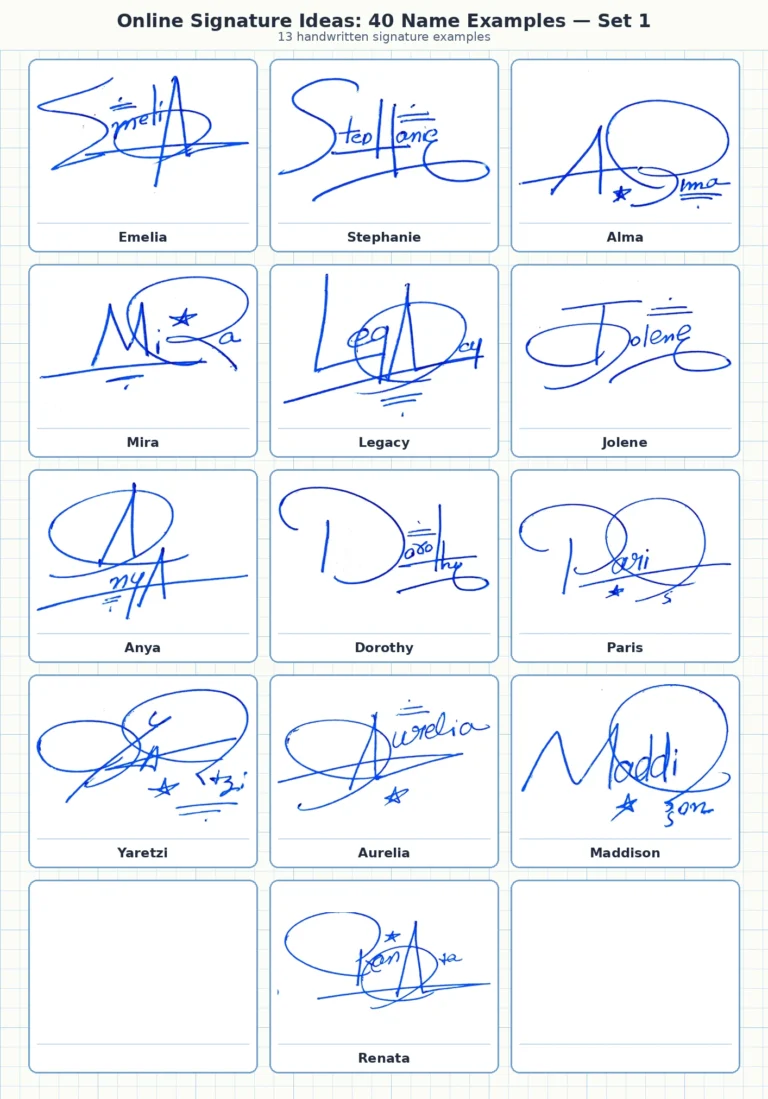
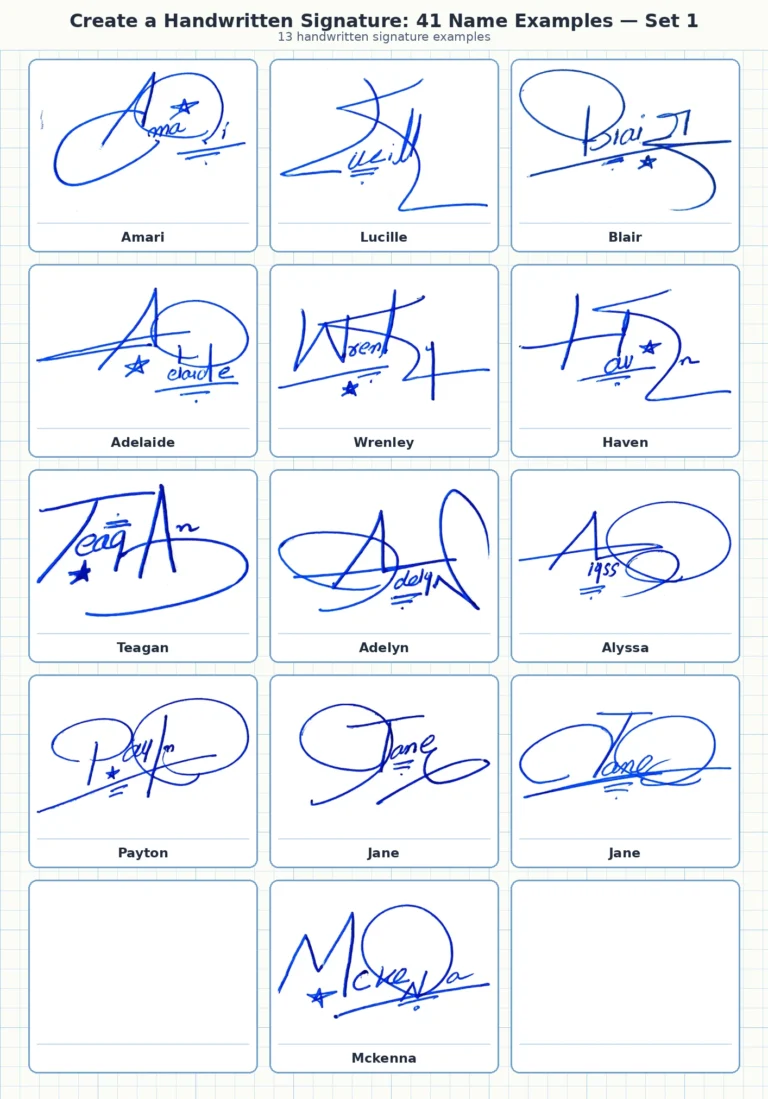
How to Create a Signature: 7 Practical Design Steps
To create a signature, first choose what part of your name to use, build a simple writing skeleton, add one distinctive feature, and test the result at normal speed. A usable signature is not the most complicated draft; it is the version whose main shape you can repeat comfortably.
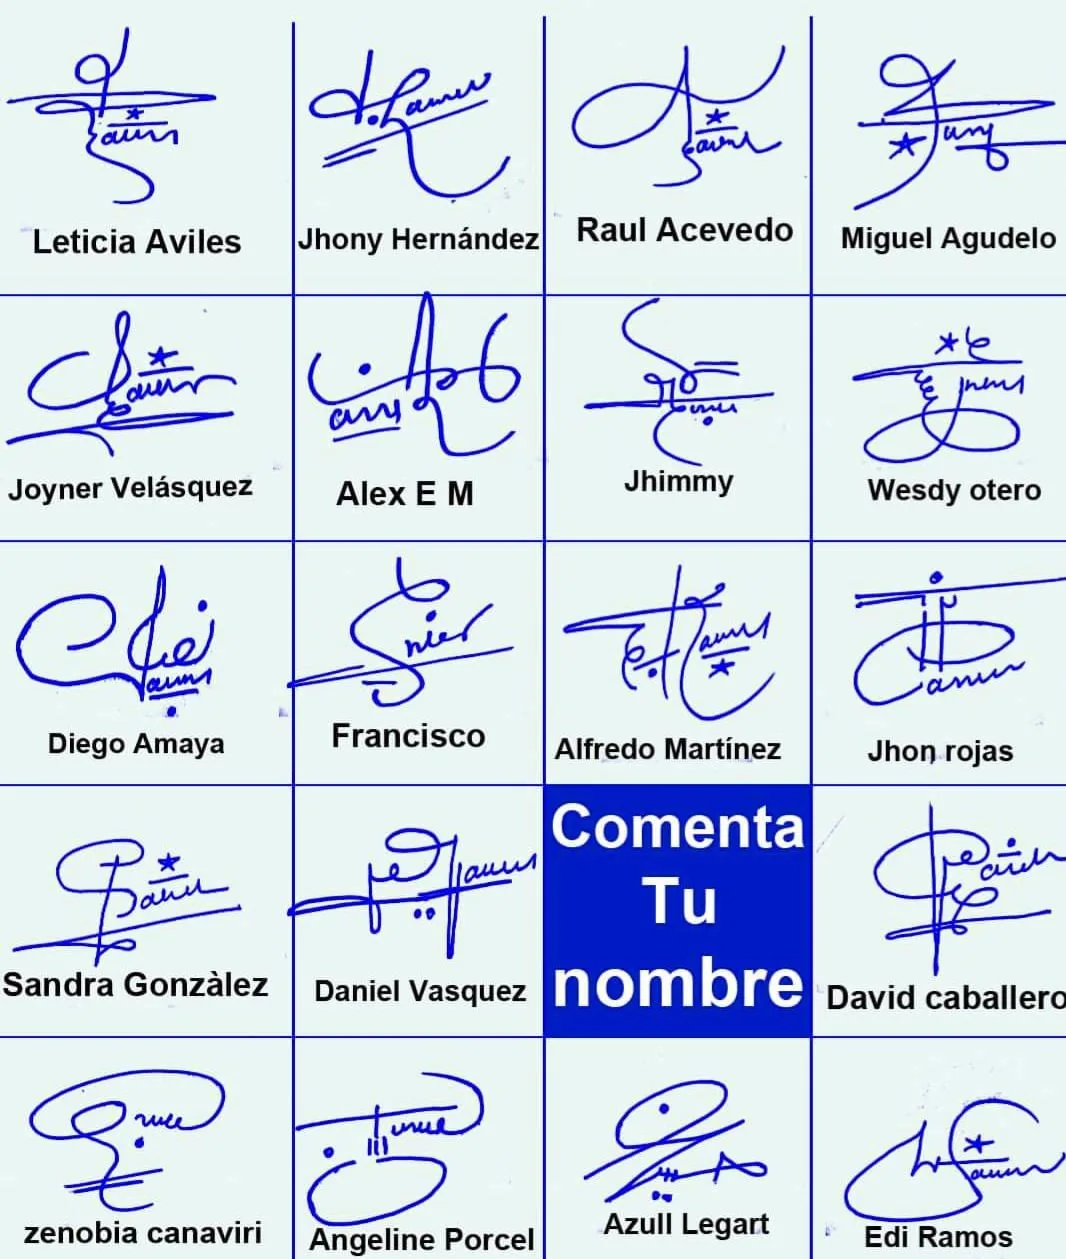
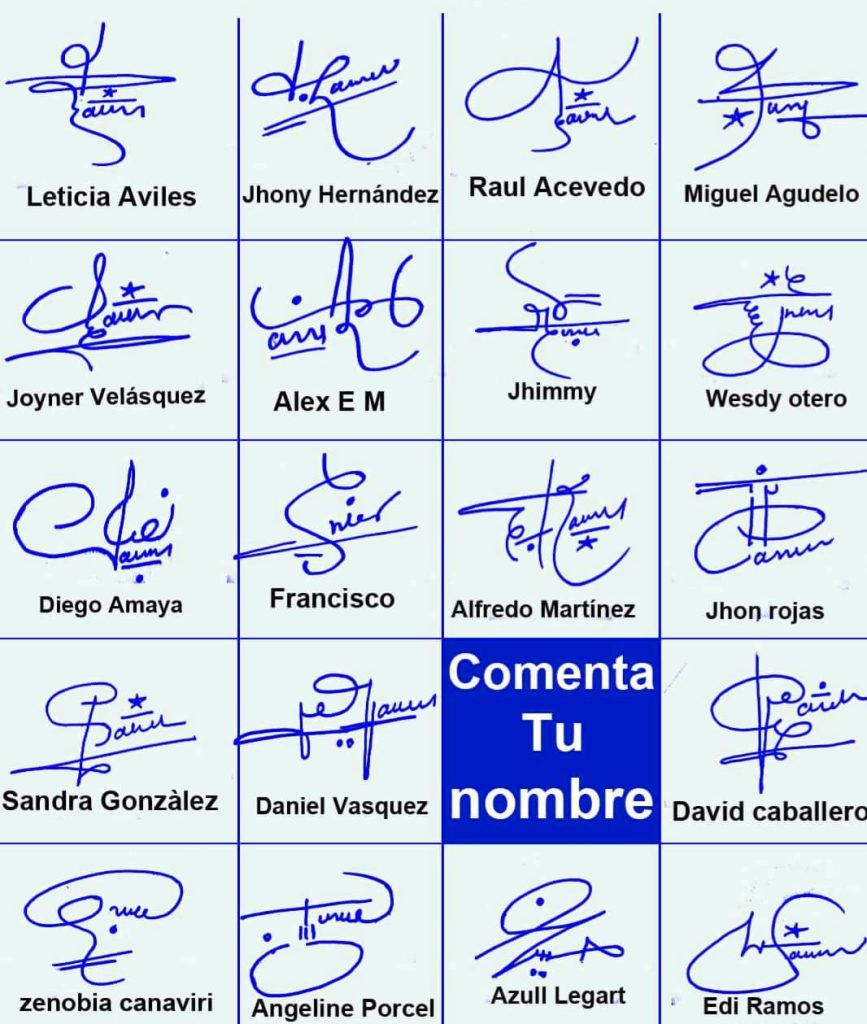
The examples above show several useful building blocks: oversized initials, compressed name bodies, horizontal cross-strokes, stars, dots, underlines and two-word structures. Use them to understand construction, not to copy another person’s mark.
Seven practical steps
- Choose your name format
- Find an anchor letter
- Build three skeletons
- Add one distinctive feature
- Test speed and size
- Improve repeatability
- Prepare a clean image
1. Choose your name format
Before drawing loops, decide what the signature will contain. Test several formats on paper:
- Full name: useful when you want both name parts visible, but it can become slow if the name is long.
- First name only: compact and personal, especially for a distinctive first name.
- Surname only: practical when the family name has stronger letter shapes.
- First initial plus surname: a balanced option for long names and frequent signing.
- Initials: the shortest option, but it needs a stable composition to avoid looking like random letters.
Do not assume the full name is automatically better. In the collage, Francisco and Jhimmy work as compact single-name structures, while Alfredo Martínez and Sandra González use two visible name sections.
2. Find an anchor letter
The anchor is the letter or stroke that gives the signature its identity. It is often the first initial, but it can also be a surname capital or a broad crossing line. Leticia Aviles, Raul Acevedo and Diego Amaya use a large looped opening; Miguel Agudelo and David Caballero rely more heavily on long horizontal movement.
Choose an anchor that feels comfortable in your own handwriting. A complicated capital copied from a calligraphy alphabet may look impressive once but fail when written quickly.
3. Build three simple skeletons
Create three versions without decoration. Keep each one small enough to fit on a typical form:
| Draft | Structure | What it tests |
|---|---|---|
| A | Readable name with connected letters | Whether your normal handwriting already provides a usable base |
| B | Large initial plus compressed name body | Whether one capital can carry the identity of the signature |
| C | Initials or shortened name with a final stroke | Whether a compact mark feels natural and repeatable |
Write each skeleton three times. Eliminate any version that requires careful drawing instead of natural writing. You can compare more visual structures in the guide to a signature style for your name.
4. Add one distinctive feature
Once the skeleton works, add a single feature that belongs to the writing motion:
- Opening loop for a rounded capital.
- Long cross-stroke when the anchor letter naturally supports it.
- Short underline growing from the last letter.
- Return stroke that travels back beneath part of the name.
- Small dot or star accent only when it can be placed consistently.
The collage contains many stars, but decoration should remain optional. Joyner Velásquez, Sandra González and Edi Ramos still have identifiable structures beneath the symbol. If removing the accent destroys the design, improve the letters first.
5. Test the signature at real speed and size
Sign five times without pausing to correct individual letters. Use a space similar to the line on a form or card. Compare these features:
- overall width and height;
- angle of the main capital;
- position of the baseline or underline;
- number of pen lifts;
- shape and length of the ending.
Consistency does not mean every tiny curve must be identical. It means the same main movement and silhouette appear each time.
6. Simplify the parts that do not repeat
Circle the section that changes most across the five attempts. Then shorten it. A double loop may become one loop; a long flourish may become a short tail; a fully written middle name may become an initial. Simplification is not a loss of quality when it improves control.
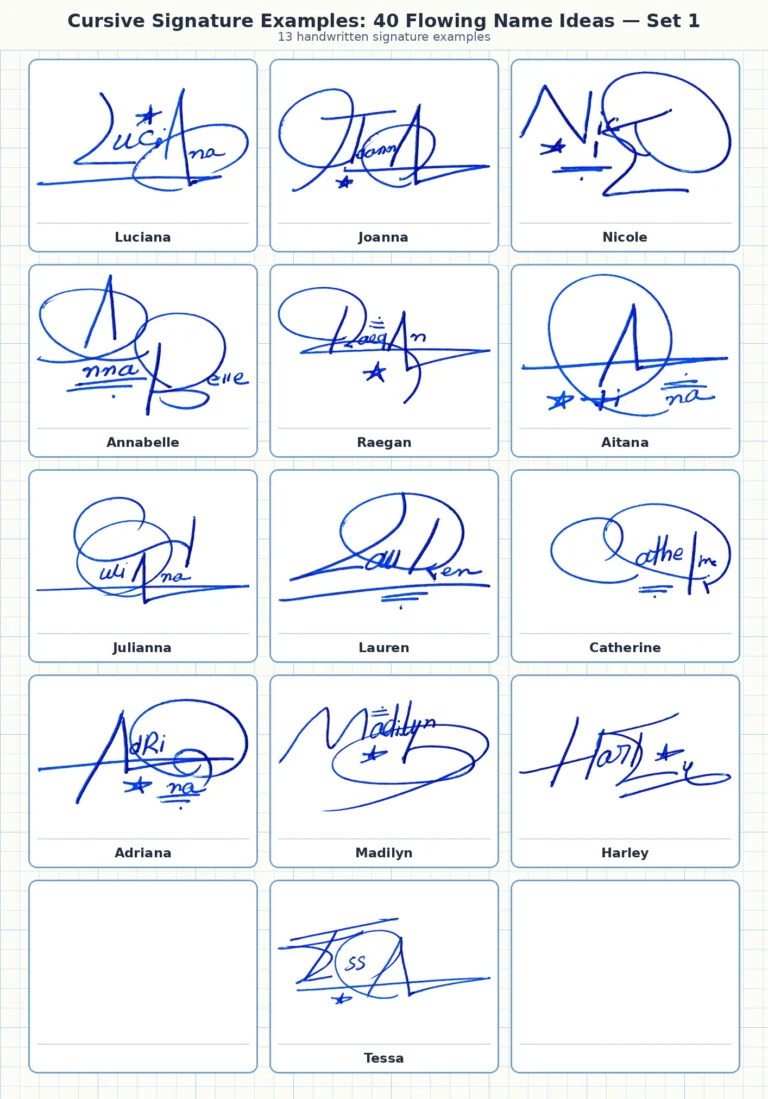
If you want a flowing result, the cursive name signature examples show how large initials and compressed middles work together. For a very quick mark, the short signature guide focuses on reducing the sequence of movements.
7. Prepare a clean digital copy only after the design works
- Use dark ink on clean white paper. A smooth source makes background removal easier.
- Photograph or scan in even light. Keep the camera parallel to the paper.
- Crop the image. Leave a small margin without a large empty canvas.
- Remove the background carefully. Preserve thin strokes, dots and intentional gaps.
- Save a private master. Use smaller copies for documents or web display instead of editing the only original.
- Test the image on light and dark backgrounds. Confirm that the line weight remains clear.
Optional signature-making video
The written process above is the main guide. This video can provide an additional visual demonstration of how signature strokes are developed. Playback does not start automatically.
Common signature design mistakes
- Adding several flourishes at once: you cannot tell which feature improves or harms the design.
- Practising only at large size: the signature later fails in realistic spaces.
- Copying a finished signature exactly: the movement belongs to someone else and may not suit your hand.
- Using a font as the final answer: a typed script can inspire shapes but does not create a personal hand movement.
- Ignoring the ending: an uncontrolled tail causes the width to change every time.
Frequently asked questions
How long does it take to create a signature?
You can produce useful drafts in one session, but a comfortable signature usually needs repeated practice over several days. Stop when the main shape feels automatic rather than when one attempt looks perfect.
Should I use my full name or initials?
Test both. Full names provide more readable identity; initials and first-initial-plus-surname formats are faster. The best choice depends on name length and how often you sign.
How can I make my signature look professional?
Use a clear hierarchy, controlled width and one purposeful finishing stroke. Avoid decorations that interrupt the movement or make each attempt look different.
Can I create a signature online without drawing on paper?
Yes, you can draw on a touchscreen or type your name to explore styles. Paper is still useful for discovering natural movement before creating the final image.
Should I copy a signature from the gallery?
No. Study the construction—large initial, compressed middle, underline or ending—then rebuild one idea using your own name and handwriting.
Single Signature Examples from This Collection
These individual handwritten signature images are included as supporting examples so visitors can compare one name at a time. Each caption preserves the name reference and makes it easier to study initials, loops, finishing strokes and overall signature flow.